Pages

  • Home
  • Blog
  • Shop Online
  • Catalogues
  • Buy the starter kit
Powered by Blogger.

Social Icons

Handmade by Kim Test March 2021

Pages

  • Home
  • Blog
  • SHOP ONLINE
  • Catalogues
  • Buy the starter kit
  • About Me

International Blog Highlights October!

Monday, October 5, 2020 Bridgwater, UK


Today I am taking part in Kylie Bertucci's International Blog Highlights!

Each month I enter a handmade card I've designed into Kylie Bertucci's International Blog Highlights. It's great to see crafters from all around the world take part. A great source of inspiration!

The theme is 'Thank You' - you can check out all of the thank you cards entered by clicking on the banner below.

If you like my card, please vote for me - you can find more information on how to vote further down this page.


I do love a bit of shimmer and sparkle so I've been playing with Stampin' Up! products and have used a new technique to come up with a pearlescent background with a hint of colour. 

I usually try and stick to a bundle when creating my cards but today I've mixed it up.

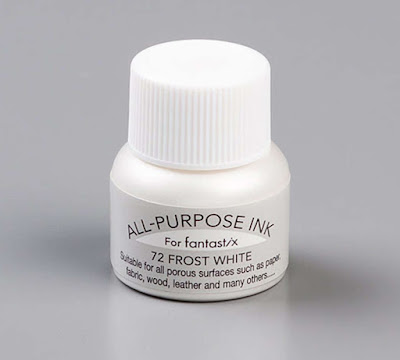
I literally painted the colour onto Whisper White cardstock. To do this I mixed some of the Frost White Shimmer Paint with Seaside Spray. 

The Seaside Spray ink refill will soon be available in the UK but I didn't let the fact I didn't have it stop me. I literally pressed my ink pad onto a teflon sheet and then added the Shimmer Paint to it and mixed it with a paintbrush. 

I loved the effect I created but I wanted to take it further so I embossed the painted cardstock when it was fully dry with the Dainty Diamonds Embossing Folder. 

As I always say, it can be difficult to capture in photographs the shimmer in my projects but I think it shows well in my photos. It's so beautiful - although a little extravagant . It certainly wouldn't be cost effective creating lots of these!

Using the Rectangle Stitched dies I die cut two rectangles and positioned these on my card using Dimensionals.

I die cut two leaves from the Forever Flourishing dies and glued them into position. 

I then decided to then apply the White Shimmer Paint lightly over the leaves (although I now wish I did this before I adhered them - however, it was an afterthought ). I love white on white but I felt it needed a little extra something.


I die cut the word 'thanks' from Balmy Blue Glimmer Paper using the Well Written dies. Before I die cut the word, I applied Adhesive Paper to the reverse of the Glimmer Paper to make it quick and easy to adhere my die cut. 

Next I cut a piece of vellum to fit underneath it and layered it onto my card using Mini Dimensionals carefully positioned underneath, so they couldn't be seen.

For the final touch I added two Clear Epoxy Droplets, into the centre of the diamonds. I lightly coloured them with Seaside Spray Blends but the effect is very subtle.

I know lots of people suggest using odd numbers when applying embellishments but I honestly think even numbers are okay when used in this way! I hope you agree?

I hope you have enjoyed looking at my project today! If you like my card I would really appreciate you taking the time to vote.  

To vote, please click the button above then scroll down Kylie's blog post until the gallery of cards appears. 

Make sure you have a good look at all of the cards - to get a better closer look simply click on the card and you will be taken to the creators blog. 

You can make five votes so don't forget to use them all! All you have to do is click the heart in the top right hand corner on each card that you like.

The top ten winners will participate in a Blog Hop before the end of the month.


Thank you for taking the time to visit my blog today! I would love you to leave a comment and say hi

If this is your first visit here and you like what you see, why not subscribe to receive an email every time I publish a blog post - I send out the occasional newsletter too. Click here to subscribe.

read more
in Challenges, Forever Greenery Suite, International Blog Highlights, Peony Garden Suite

World Card Making Day Blog Hop!

Saturday, October 3, 2020 Bridgwater, UK


Did you know today is World Card Making Day? 

Papercrafters will be celebrating by making and sending beautiful handmade cards! You can follow the hashtags #WorldCardMakingDay and #SU2020WCMD and show some love by liking what you see and leaving some comments (it's makes our day)

Join me today for the World Card Making Day Blog Hop with crafters and Stampin' Up! demonstrators from all over the world! 


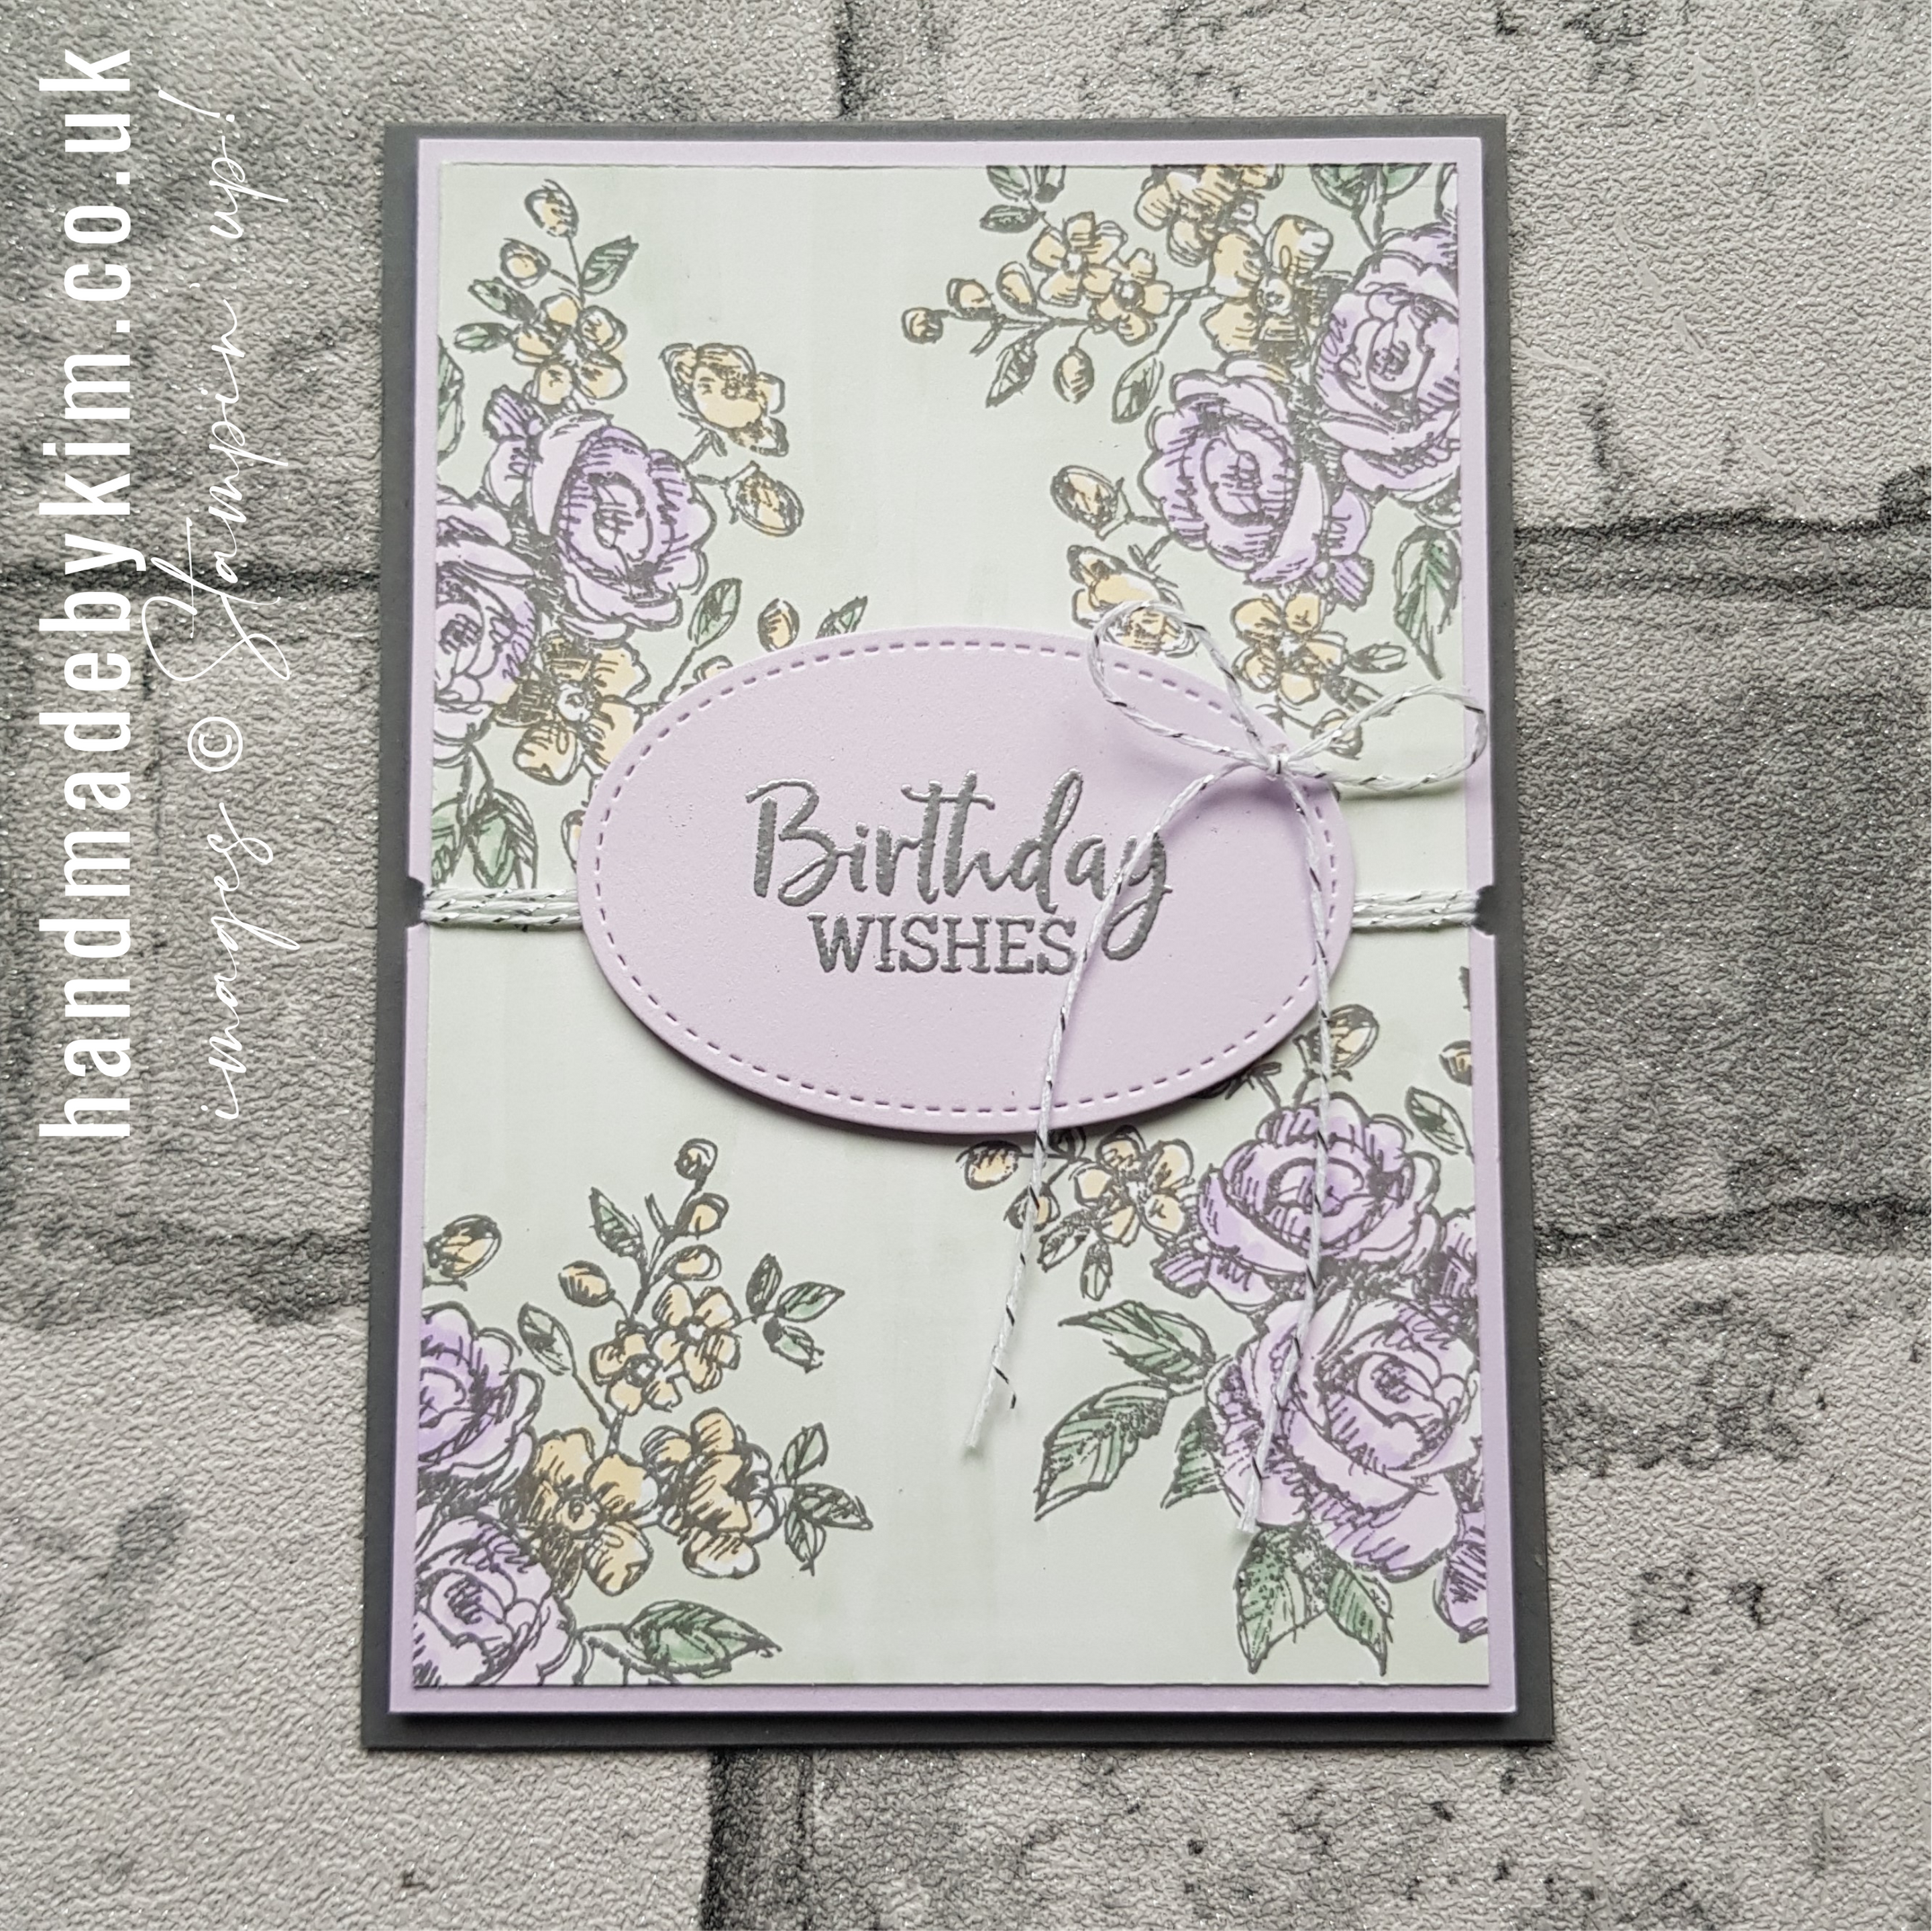
Today I am sharing with you a card I created following a team training session that Michelle Last held on Zoom a few evenings ago. It was such a lovely evening and great to see everyone!

Michelle taught us this beautiful technique that she came up with - you absolutely must check out Michelle's blog post (including video tutorial) by clicking here.


My card doesn't completely reflect Michelle's technique, I thought I'd make my version a bit more 'me' - it doesn't have that 'vintage' feel that Michelle has achieved with hers.

Followers of my blog will know that I usually stay within a certain range of colours, branching out now and then. I tend to lean towards neutral and subtle colours with white space with a bit of sparkle. 

Perhaps I should have been more brave? 

Either way, I like what I've achieved and I wanted to share it with you. 


So let me tell you about how I made my card. 

I have only used one stamp set - it's called the Fancy Phrases stamp set. It has a great range of sentiments in lovely fonts plus two floral images that you can colour with Stampin' Blends.  


I stamped the flower images in Basic Gray and used my Stampin' Blends to colour them in - 
Purple Posy and So Saffron for the flowers, Soft Sea Foam and Mint Macaron for the leaves and Soft Sea Foam for the background - yes the whole surface of this card has been coloured in with Stampin' Blends! 


I feel I should note here that my version doesn't have the same fabric texture as Michelle's. I think by using Soft Sea Foam instead of Smoky Slate or Gray Granite for the background, I lost part of the look she demonstrated. I'm okay with that but am definitely going to keep working on it!


Now you've seen my card, it's time to see the rest! Simply click on the names in the table below.

If you have the time, I'd love to hear from you. You can say hi by leaving a comment below! 

read more
in Blog Hops, Crafty Collaborations Blog Hop

Howlin' Halloween Blog Hop

Thursday, October 1, 2020 Bridgwater, UK


Welcome to the Howlin' Halloween Blog Hop!

If you have arrived from Sara's blog, let me introduce myself - I'm Kim and I live in Somerset in the UK. I adore Stampin' Up! products and haven't looked elsewhere since I was introduced to them way back in 2013.  

You'll find lots of inspiration here today from Stampin' Up! demonstrators and papercrafters from Australia, Canada, USA and the UK. 

If you've already been hopping, haven't all the projects been spooktacular!


We don't typically send cards in the UK but I still create them! Any excuse to craft with the products I love..... 

As trick or treating won't be safe this year due to coronavirus, there is an alternative that someone somewhere in the UK has thought up to make it fun for the children. People will be placing pictures of pumpkins in their windows so children can go on a pumpkin hunt. Their parents are going to reward them for every pumpkin they spot. I think it's a lovely idea.


The card I've created for today's hop features the colours Basic Black and Blackberry Bliss. 

I didn't have any ribbon that matched so I got creative and coloured the Pool Party Sheer Ribbon with my Rich Razzleberry Stampin' Blends. Problem solved!


I love a bit of sparkle and Halloween is the perfect excuse to use the Black Glitter Paper. 


The Magic in This Night Designer Series Paper is the BEST Halloween patterned paper I've seen in a while. 
I've got some great projects coming up this month featuring this paper! I've resized my treat bag, which is my most popular blog post of all time (there will be a video tutorial for this) - plus I've got three more cards to show you!!
Click here to subscribe to my blog so you don't miss a thing! 
.

The Hallows Night Magic bundle has everything you need!  It has the perfect combination of stamps and dies for all of your Halloween projects.

It contains four useful sentiments that can work brilliantly for cards, invitations and treats plus a great variety of images you can stamp with matching dies to cut them out. 


You also get two label dies (one which has a coordinating stamp). An edge die - which I've actually used on the inside of my card - I just forgot to take a picture. You also get a flower and leaf, which I have yet to use.


I am absolutely petrified of spiders but I love the life like spider stamps. That's the only spider I can handle, literally! 


I hope you've enjoyed my project today! If you have the time I'd love you to leave me a comment to let me know you stopped by.

Next up is Alison and she has a fabulous project for you. Simply click on her name in the list below to visit her blog and then continue hopping until you end up back here!

Come back on Saturday for the World Card Making Day Blog Hop! I'm excited to share a birthday card I've created with you.


read more
in Blog Hops, Crafty Collaborations Blog Hop, Magic in This Night Suite
new entries old entries
Subscribe to: Posts (Atom)

Hello!

Hello!
Welcome to my papercraft blog Handmade by Kim!


My name is Kim Price and I'm a Stampin' Up! demonstrator from Bridgwater, Somerset in the UK.

Looking for something?

Sign up for papercraft ideas and inspiration!

Popular Posts

  • Masculine Blog Hop!
    Today we are bringing you the Masculine Blog Hop to provide you with papercraft ideas for those ever so hard to craft for men in our life! I...
  • Handmade wedding card as showcased in Kylie Bertucci's Blog Highlight
    If you are visiting my blog for the first time, hi! my name is Kim and I live in the UK. If you live in UK, The Netherlands, Germany, France...
  • Stamp 'N Hop September Blog Hop!
    Welcome to the monthly Stamp N’ Blog Hop!! This is the first time I am joining this blog hop and I'm delighted to be taking part with so...
  • Ink.Stamp.Share Showcase - January Blog Hop!
    Welcome to the Ink.Stamp.Share Showcase Blog Hop!       If you have arrived here from Jo's blog, a very warm welcome to you!  There is n...

Featured

Butterfly Bouquet Blog Hop!

Blog Archive

  • ▼  2021 (87)
    • ▼  November (3)
      • Whimsy & Wonder DSP
      • Artistically Inked Thank You Card
      • Stampin' for Christmas Blog Hop!
    • ►  October (9)
    • ►  September (6)
    • ►  August (6)
    • ►  July (5)
    • ►  June (9)
    • ►  May (7)
    • ►  April (10)
    • ►  March (8)
    • ►  February (10)
    • ►  January (14)
  • ►  2020 (88)
    • ►  December (16)
    • ►  November (13)
    • ►  October (13)
    • ►  September (10)
    • ►  August (10)
    • ►  July (11)
    • ►  June (11)
    • ►  May (4)
  • ►  2017 (12)
    • ►  May (1)
    • ►  April (2)
    • ►  March (2)
    • ►  February (4)
    • ►  January (3)
  • ►  2016 (85)
    • ►  December (6)
    • ►  November (5)
    • ►  October (6)
    • ►  September (9)
    • ►  August (6)
    • ►  July (11)
    • ►  June (3)
    • ►  May (12)
    • ►  April (8)
    • ►  March (5)
    • ►  February (4)
    • ►  January (10)
  • ►  2015 (107)
    • ►  December (4)
    • ►  November (9)
    • ►  October (14)
    • ►  September (17)
    • ►  August (6)
    • ►  July (4)
    • ►  June (5)
    • ►  May (8)
    • ►  April (21)
    • ►  March (5)
    • ►  February (5)
    • ►  January (9)
  • ►  2014 (31)
    • ►  December (2)
    • ►  September (17)
    • ►  August (7)
    • ►  July (4)
    • ►  June (1)

Contact Form

ANNUAL CATALOGUE

MINI CATALOGUE

USEFUL LINKS

  • About me
  • Disclaimer
  • Papercraft creative challenge websites
  • My papercraft creative challenge badges
  • Buy the starter kit
  • Contact me

BEGINNERS CATALOGUE

latest 'grams from @handmadecraftsbykim

© Handmade by Kim Test March 2021.
Theme by Soileilflare.