


I really enjoyed paper piecing with the Trimming the Town Designer Series Paper while creating this double easel card!
I've created the scene to look lovely with the card folded flat and also with the 3D scene.

I think the trees and the people are perfectly placed to create the illusion of a snowy hilly scene.


I had the same problem with the mountain scene on this card. At the bottom of patterned paper I had houses chopped in half and again, it didn't look right.
I know this part isn't necessarily on display but I still wanted it to look perfect.

So I fussy cut some of the larger houses that I had spare, choosing houses in blue to keep the colours similar. I placed these houses over the areas I wanted to hide and my problem was solved!

This fun fold is really easy to do and there are lots of YouTube tutorials available to learn how to do this. Just search for Double Easel Card.

Creating this scene took a little while plus it really depends on what you've got available! I really enjoyed the process and finding ways to make it work.
The question is, will I be able to give this one away for Christmas or will I have to keep it? Papercrafters will know what I mean....


Welcome back to another Ink.Stamp.Share Blog Hop!
If you have arrived here from Jo Blackmans blog, a very warm welcome to you! Jo creates the most stunning projects. I can't wait to hop round myself and see what everyone has created.
The theme today is Autumn/Fall or Halloween so you'll find lot's of inspiration here for your seasonal papercraft projects.

To view all of today's projects, scroll down this page until you find the 'Next' button - simply click this button to be taken to the next blog and then repeat until you end up back here again!
Alternatively, you can click each name under the Roll Call to check out all of the amazing projects!

I've really enjoyed crafting for Halloween this year using the Magic in This Night designer series paper. This is the fifth project I've created and I'll be sharing my last one on Halloween which is just one week away!
I love thinking outside of the box and finding alternative uses for Stampin' Up! products - I've created a sparkly border using the Black Glittered Organdy ribbon.

I chose to use the Blackberry Bliss spider pattern for this card. Whilst I am absolutely petrified of spiders, this paper doesn't frighten me one little bit. It's stunning, so I bought an extra pack of the Magic in This Night patterned paper in the DSP sale.

To decorate my card, I die cut the a label from the Halloween Magic dies and embossed it with the Cobweb Embossing Folder. Just like my previous Halloween card, I've picked out the cobweb detail with my Clear Wink of Stella pen - although this time I was a little more heavy handed and the effect is not quite as subtle as I wanted to be.


Using the same stamp set, I stamped two spiders in Blackberry Bliss ink and die cut these with the coordinating dies. I added the spiders to my card using dimensionals to give the card some dimension.

Thank you so much for visiting my blog - I hope you enjoyed my project today! You can sign up to receive my future blog posts by email by clicking here.
If you have the time, it would be lovely if you could leave us comments to let us know you've stopped by! We all love to receive them ❤

Roll Call


Oh my goodness, the Snowflake Splendor DSP is just so beautiful. It's even more stunning when embossed with the Winter Snow Embossing Folder (which is also from the Snowflake Splendor Suite).
It's fun to emboss patterned paper now and then but not all patterns and folders suit this technique. When it works, it can add some lovely texture to your project.
In fact, I heard a great tip a little while ago, if you have accidentally crumpled some paper, emboss it! It might save it from ending up in your bin.

To create my Christmas card, I added my embossed patterned paper onto a Highland Heather card base. I chose to have super thin borders - about 1mm - for a hint of colour but not too much.
I die cut two labels from the Stitched Nested Labels - the larger one from Vellum (which has been given the Wink of Stella touch) and the smaller from Whisper White Thick Cardstock.

I created the Joy sentiment and snowflakes from some scraps I had left over from other projects.
If you follow my blog, you'll know I've been playing around with Frost White Shimmer Paint (check out my card here), I added some ink to change the colour and literally painted it onto Whisper White cardstock. I had some left over so I die cut the word 'Joy' from the Joy Dies from it.

I had some snowflakes leftover from another project that were just perfect for this card.
I really wanted sparkly white paper for die cutting snowflakes and I didn't have any, so I spread a thin later of Shimmery White Embossing Paste onto Whisper White cardstock and let it dry before using the So Many Snowflakes dies.
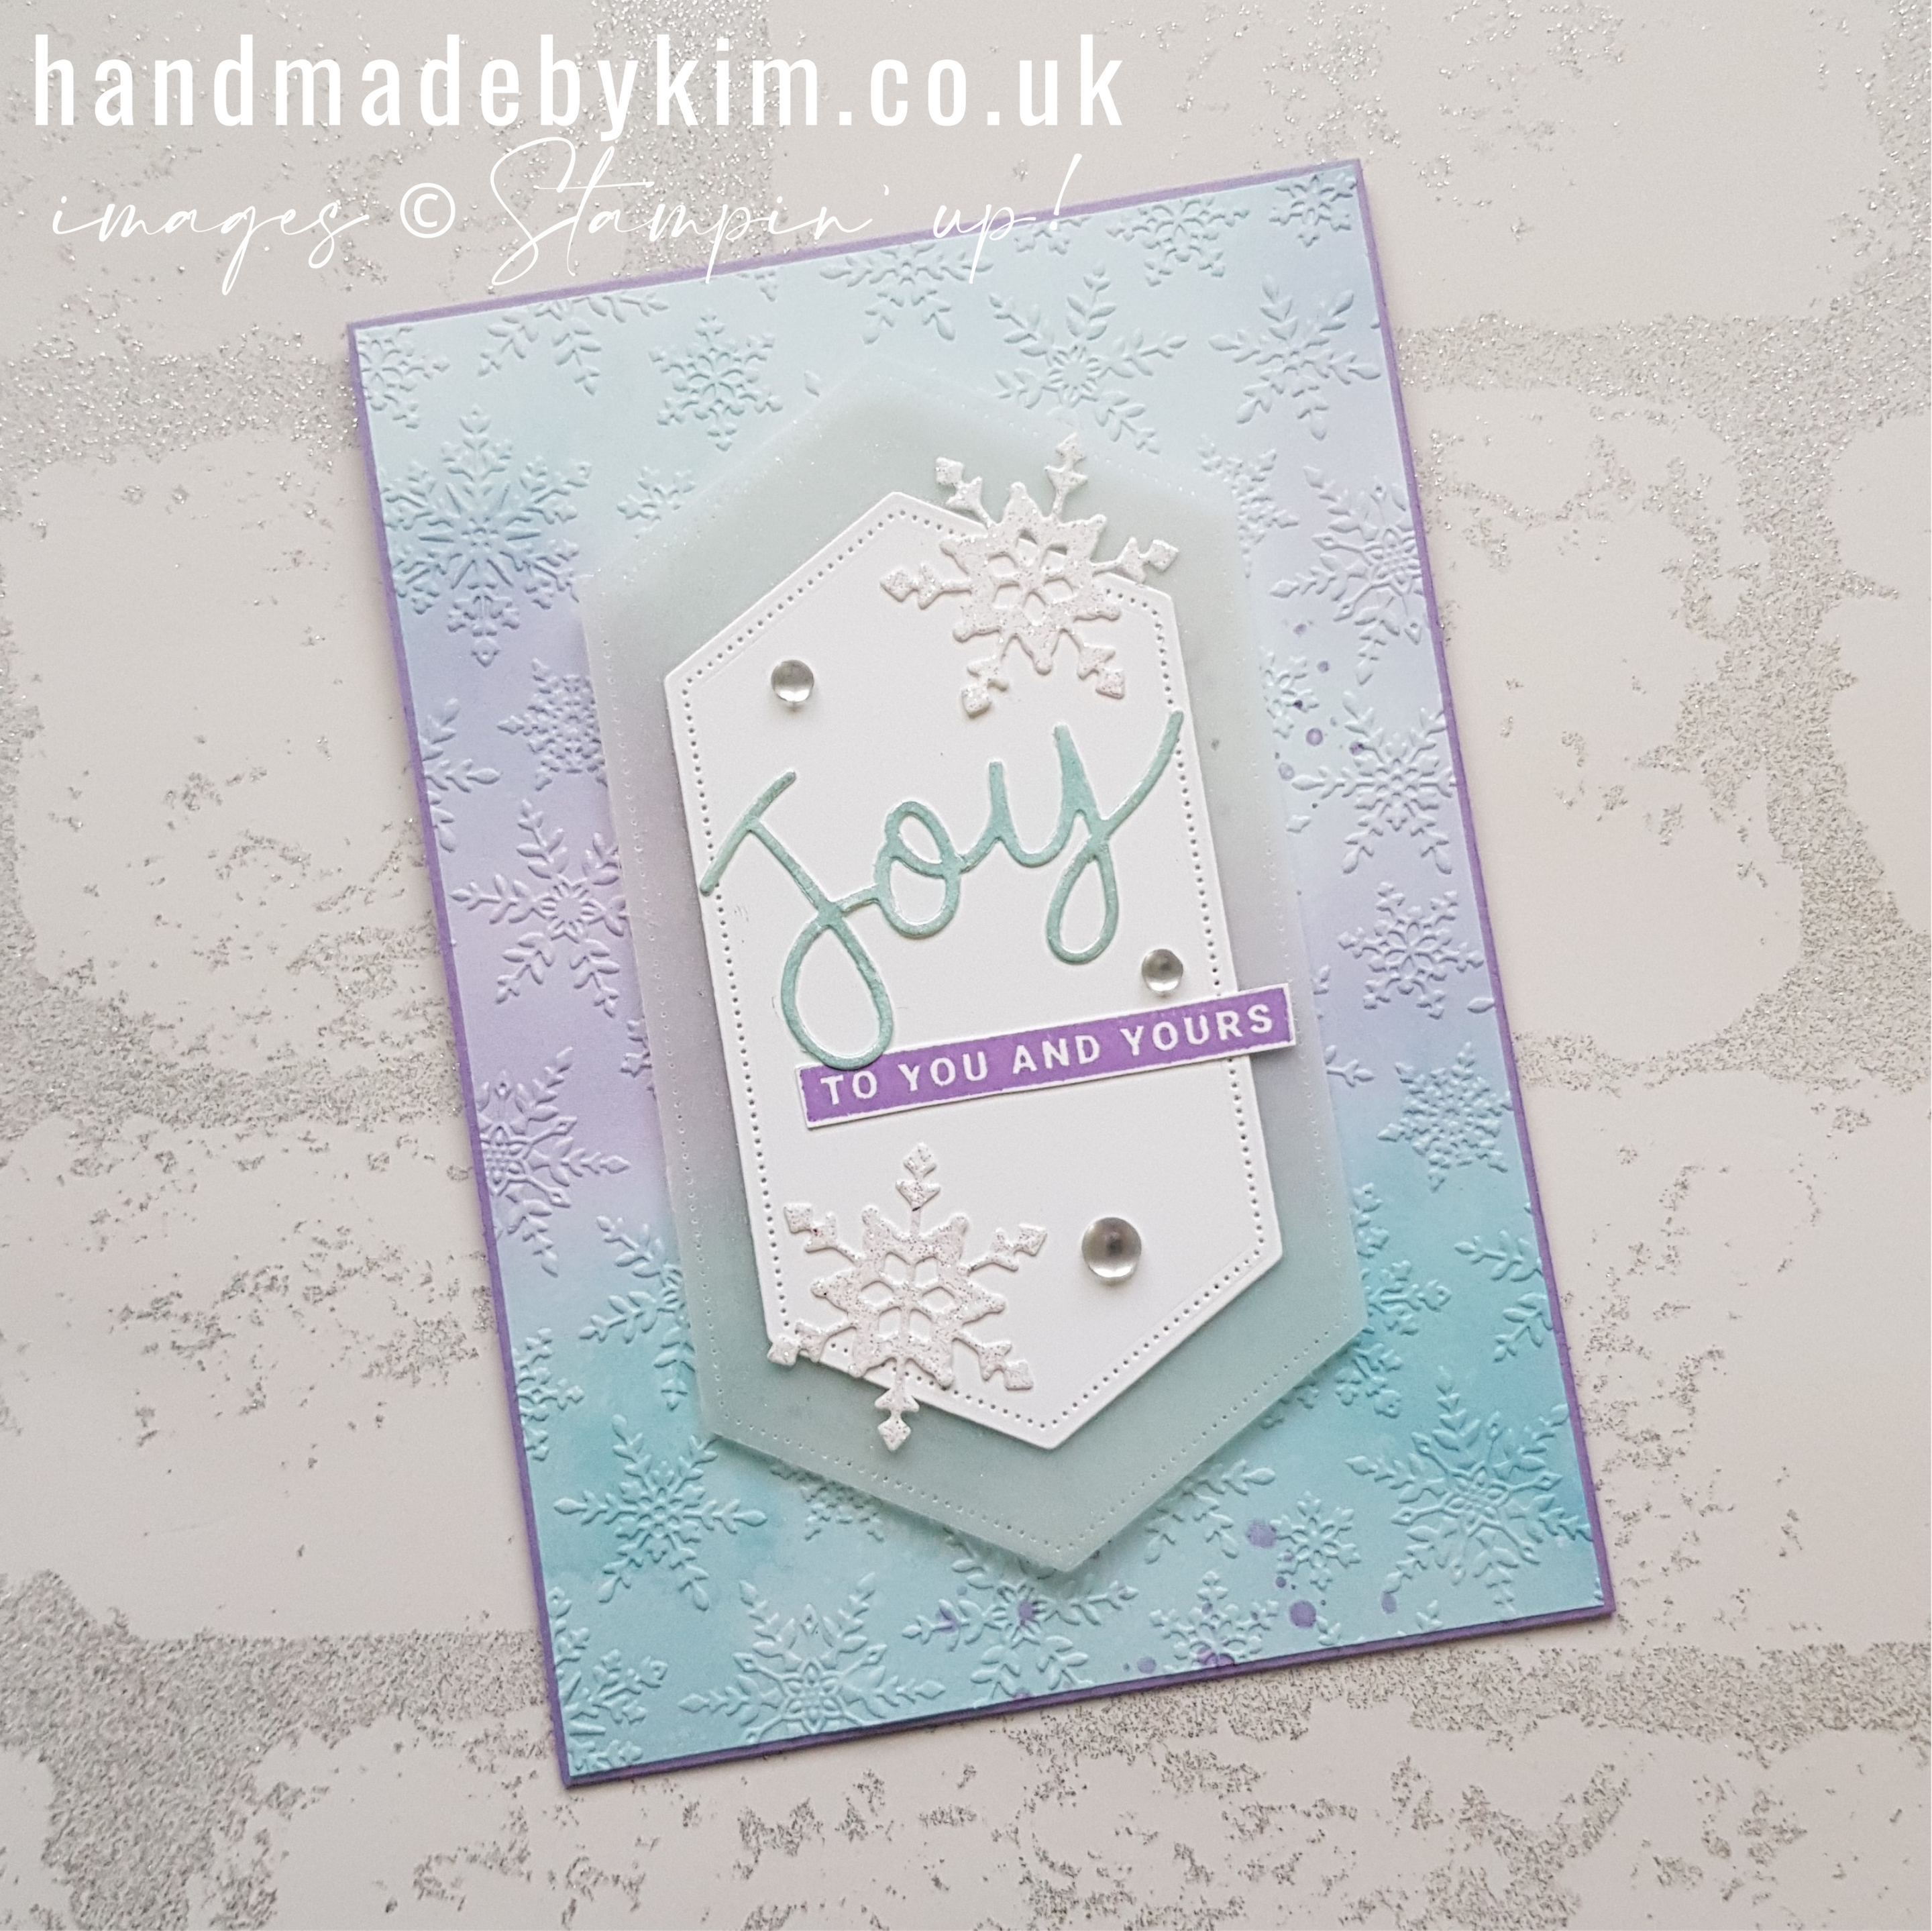
I stamped 'To you and yours' (from the Joy and Peace stamp set) in Highland Heather ink onto a scrap of Whisper White cardstock and cut it out with scissors.
To finish my card, I added three Frosted Epoxy Droplets. I adore these and my instinct is that I need to hoard them but they are so beautiful I had to share!
Thank you for stopping by today! If you want to be added to my subscriber list to get an email notification when I publish a blog post plus the occasional newsletter - sign up here
Subscribe to:
Posts (Atom)


Social Icons