
Showing posts with label Bitty Butterfly Punch. Show all posts
Showing posts with label Bitty Butterfly Punch. Show all posts


Happy Mothers day! I hope you are having a lovely day either being spoilt or just putting your feet up. I am sat on the sofa watching a film while my husband is at work. Both my little cats are with me - bliss!
My Mum has just called to say she just received her flowers, I hope she likes them and the card I sent her!
Last weekend I ran my very first workshop and it was such fun! The theme was mothers day and we had 6 hours to make a matching collection of gifts - a card in a box, a bag in a box (which included the small tin that fit perfectly inside) and large tin.
I gave the four ladies Abi, Aimee, Kelly & Laura a choice of 2 designer series papers - Timeless Elegance or Birthday Bouquet. Abi and Aimee chose Birthday Bouquet and Kelly & Laura chose Timeless Elegance.
I like to give a choice as we all have different preferences. My personal favourite is Timeless Elegance but the Birthday Bouquet paper has really given me a chance to work with such pretty colours over the last few months, I shall be sad to see this one go (if you really like it but haven't ordered it yet, you've only got just over 2 months to order it!)

I ended up changing the design of the Birthday Bouquet card in a box at the last minute, instead of a Blushing Bride layer, I changed it to Pool Party and instead of the pink striped pattern of DSP on the bottom level, I changed it to the flowers, I feel this works so much better now.

I gave all four ladies packs containing all of the DSP and cardstock needed and also gave some options for them to change the colours of the flowers etc so they could make it their own. My version below uses Very Vanilla and Basic Black for the flowers, but Laura chose to use Sahara Sand instead of Very Vanilla and I think it worked just as well.

The bag in a box was fun to make. I prepped all of the cardstock so all we had to do was assemble it. It really is so easy, if you haven't made one yet, you must give it a go (click here to watch my friend Caroline Hallet's YouTube video on how to make it)

At the time I made my samples, I had run out of the lovely flowers so I had to use the ice cream cones paper, we didn't use this one on the day but the paper is so cute!
The little tin fits perfectly in the bag in a box and is perfectly for holding a piece of jewellery or gift card.

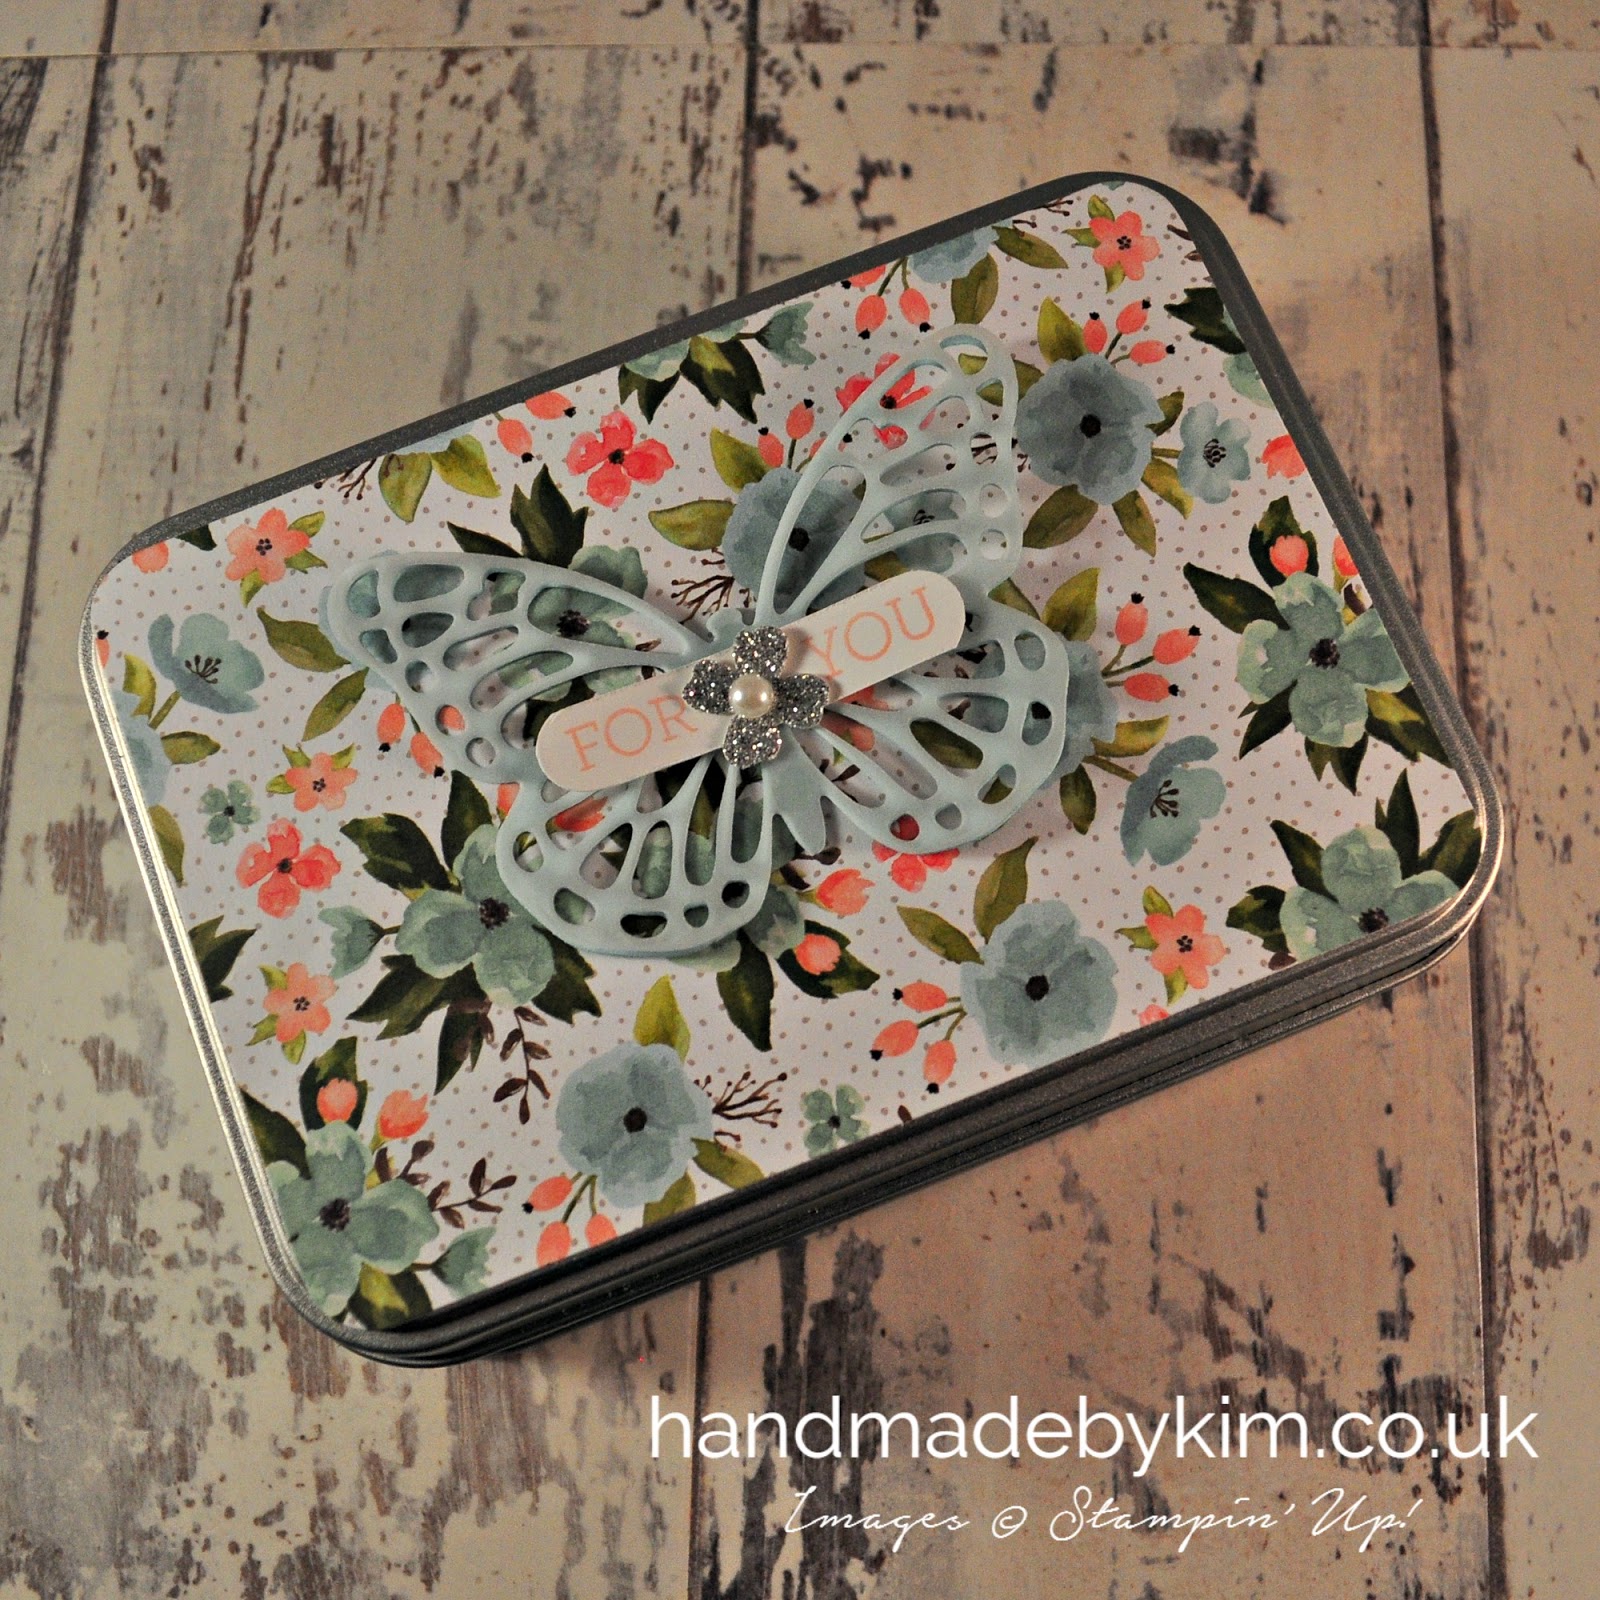
We also had time to make the large tin. This could be used for so many things. My friend Aimee discovered that it holds two hotel chocolate slabs perfectly - amazing! What is better than receiving a handmade designed tin of chocolates?

The tin is also the perfect size to include some small handmade cards, there are so many options on what you can do with it!
It was so much fun preparing for the workshop and setting up the room. I wanted it to be perfect and set up a table each so we had enough space plus a big shot station.

Each person had a thank you gift bag and card, a sheet of grid paper, a pack of supplies, the metal tins and a brown bag to take everything home in.
I had enough equipment for each pair to share a trimmer and scoreboard, plus I put together a toolkit together for each pair to share.
Aimee brought along her die cutting machine so we could double the amount of flowers cut with this and also using the big shot.

Here is everyone cutting their flowers using the Big Shot. I showed them the plastic bag technique (click here to watch my friend Smiley's youtube video on this) and also using the new Big Shot Die Brush, both techniques are amazing and absolutley essential when cutting large amounts of flowers or intricate dies.

Everyone did an amazing job with the projects - especially as it was Abi's, Kelly's and Laura's first time crafting.
This is what Abi made. I love how she has added a glitter butterfly to the card in a box and how she changed up the butterflies on both tins and the bag in a box. The pearls are simply stunning too and look great in the brads on the bag in a box.

Here is what Laura made. I really like how Laura used Sahara Sand instead of Very Vanilla. I also love her two layer butterflies she made with the Elegant Butterfly punch. The bottom later was cardstock ad the top layer was glimmer paper and some others were the opposite. I will be using this idea myself for sure!

Aimee has recently joined my team and is already in love with the products. I love how she has curled her butterflies on the large tin in the opposite direction to what I did and how she used the reverse side of the DSP on the bottom layer of the card in a box and also for the tins.

Kelly did a great job too, I am just sorry I didn't get a better picture. I love how she has placed two butterflies together on the small tin, its something I never would have thought of doing and it looks so great.

I hope you've enjoyed me sharing my first workshop with you today. I had such a great time and it was a pleasure seeing how well Abi, Aimee, Kelly and Laura did in completing these complex projects and making it their own.
Come back on Friday to see the thank you cards, thank you gift bags and tool kits in more detail!
Remember, if you would like to receive the tutorial on how to make the card in a box, please sign up to my newsletter. You can sign up in the side bar on the right hand side under "subscribe for exclusive content". If you receive my blog updates by email you will still need to sign up as I can't automatically add you without your permission.

Timeless Elegance version
Built for Free Using: My Stampin Blog
Birthday Bouquet version
Built for Free Using: My Stampin Blog


We are almost at the end of this series with project number 7 which is a covered stationery tin.

Inside the tin I've made a pocket to hold 4 coordinating notecards and envelopes.

The tin can also hold a number of other stationery items, in this photo you can see that I have put it the covered notebook, shopping list and sticky notes that have already been featured but of course you could put whatever you like in it!

I love the effect of stamping onto the Typeset Specialty Designer Series Paper and the Swallowtail Butterfly stamp looks just lovely.

My next project is the 4 notecards that fit inside the pocket of this stationery tin. Make sure you come back on Monday to see these!
Here is a sneak peek of the complete collection of 8 projects!


Here is project 2 of my Typeset Specialty Designer Series Paper Series.
You may remember I made a paperclip pot back In January for the Pinkies Sale-a-bration Blog Hop. I thought another paperclip pot would be a nice addition to this Stationery collection.

I've used the glass pot you get with the GU Desserts and cut some Basic Black Cardstock and Typeset Specialty Designer Series Paper to fit around it.

To finish it off, I have used the Bitty Butterfly punch and punched out some butterfly's using Basic Black Cardstock and added some Rhinestones.
Here is a sneak peek of the complete collection of 8 projects!


It was my Sister-in-Laws 50th Birthday recently so I made her this lovely card in a box. The card in a box is the one card design I've probably made the most. I think they are unique and really fun to make!

The box folds flat and fits into a C6 envelope for easy posting. Just make sure you don't forget to put a large letter stamp on these when posting!

I used the Flower Shop Stamp set with the coordinating Pansy Punch and the Petite Petals Stamp Set with coordinating Petite Petals Punch. I also added some butterflies using the Bitty Butterfly Punch.
I made my own background paper by using the Hopeful Thoughts stamp set by stamping the leafy image in Versamark Ink onto Whisper White cardstock. I then sprinkled Silver Stampin' Embossing Powder all over the stamped image. I then used the Heat Tool to set the embossing powder to give it a raised, shiny finish.

Finally, I added the Happy Birthday sentiment and some Rhinestones and then wrapped her birthday presents in coordinating wrapping paper and Lost Lagoon Stitched Satin Ribbon.


I hope you have had a lovely bank holiday weekend! My husband was working on Saturday so I met up with my friend Mitchell for a cheeky hog roast roll and crackling at our local butchers then I met up with my friend Jaci in Taunton and went to the cinema to watch Guardians of the Galaxy (such a funny film!).
Yesterday, my husband Phil and I went to Bath for the afternoon for a spot of shopping and finished the day with a lovely meal at Jamie's Italian. Of course the British Weather couldn't last so thankfully we planned a day at home today.
I am going to head up to my craft room soon to spend a few hours playing with my new Christmas supplies! In a few days time, the new Autumn Winter Catalogue will be available so keep an eye on my blog for all the details and sneak peeks of the products.
 I hope you like my project today. Its a set of thank you cards that I sent out recently.
 The edges of the white cardstock have been distressed and the flowers and butterflies have been placed randomly to give this a more relaxed feel.
I used Blackberry Bliss and Wisteria Wonder for the card on the left and Island Indigo and Soft Sky for the card below.
I used the stamp set Gorgeous Grunge for the background stamping and the Bitty Butterfly, Petite Petals & Itty Bitty Accents Punch for flowers and butterflies.

I punched out the larger of the two flowers onto whisper white cardstock and sponged the edges with the two colours I was using for each design. I just love this effect.
The butterflies and small flowers were punched out onto coloured cardstock, using the darker of the two colours.
I then used Rhinestones & Pearls to add some interest to the centre of the flowers and butterflies.
I added a sentiment to the front of the card from the And Many More stamp set. I choose the word Cheers..... but you could choose any sentiment you wish!
To finish, I then decorated the inside of the cards using the Papillon Potpourri and Lots of Thanks Stamp Sets.

I would be thankful if you could leave me a comment to let me know what you think of these cards and also what you have been doing this August Bank Holiday weekend?


Subscribe to:
Posts (Atom)


Social Icons