
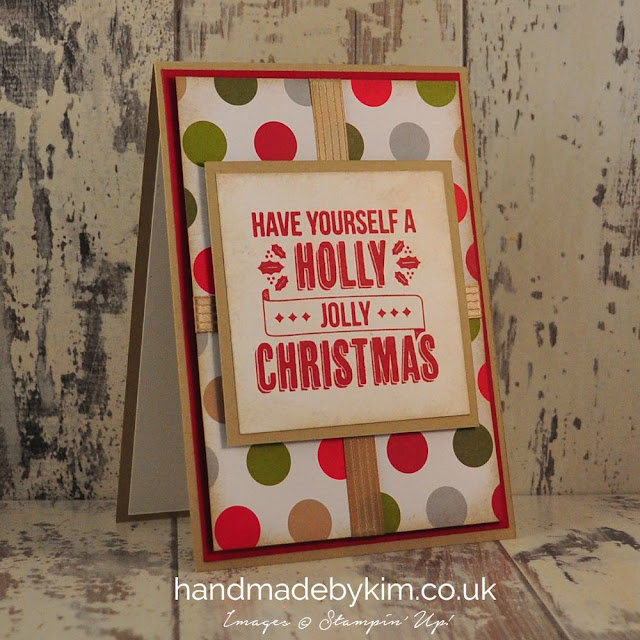

With only 122 days until Christmas, its very likely that most crafters will have started to plan their Christmas cards by now.
I know its only August and its still summer but there's nothing wrong with getting out the Christmas stamps and papers. Just don't tell those scrooges out there, you know who they are.
On 1st September the new Stampin Up! Autumn/Winter Catalogue launches. You will find lots of seasonal inspiration and new products in there including the stamp set I have used for this card called Jolly Christmas and the new Designer Series 6x6 Paper Stack called Merry Moments.

You can purchase the products I've used to make this card when the new catalogue launches on 1st September. In the meantime, click here to subscribe to my blog to keep viewing sneek peaks of new products from the Autumn/Winter catalogue and also to be one of the first to be able to download it.


Today's card features the new Whisper White Thick Cardstock. The Stampin' Up! standard Whisper White Cardstock is 216gsm. The Whisper White Thick Cardstock is much heavier at 270gsm. This makes it much stronger to hold embellishments and also allows you to keep the design simple with no layers, like I have shown in today's project.
I've created the background using the Watercolour Wash background stamp and Pool Party ink. I love the fact that you don't need to be an artist to have authentic looking brush strokes in your project.
I die cut a butterfly from Basic Gray Cardstock using the smallest die in the Butterflies Thinlits Dies set. I then die cut a butterfly from Vellum using the smallest butterfly in the Bold Butterfly Framelit Dies and layered this onto the butterfly in Basic Gray. I might try this using the Silver Foil Paper or Silver Glimmer Paper next time to give the card more sparkle.
I then adhered sequins, rhinestones and subtles candy dots to the background using the new Fine Tip Glue Pen which will be available in the Autumn/Winter catalogue that’s being released on 1st September.

On a 1cm strip of Whisper White I stamped the sentiment You're a true friend using the Endless Thanks stamp set. I then used the tripple banner punch to punch out the banner end. This stamp set is so versatile, there are so many combinations you make, take a look at the stamps included in the picture below.

I hope you have enjoyed this project today. Have a great weekend!

Hi everyone! Sorry its been a bit quiet recently, I've been working on my new website layout and its finally gone live. I hope you like it?
I've still got some work to do so watch this space over the next few weeks as my gallery page and new menu layout go live.
I've had lots of time in my craft room over the last few weeks as well, playing with new products from the new Annual Catalogue and the upcoming Autumn/Winter Catalogue. I'll be posting regularly again so get ready for some Halloween & Christmas themed projects alongside another Series showcasing the simply stunning Timeless Elegance Designer Series Paper.
So here we go, here are two thank you cards I've made using paper from the new 6" x 6" Pretty Petals Designer Series Paper Stack.

This card has a Chocolate Chip base and a layer of Mint Macaron DSP, which I've aged using Sahara Sand ink round the edges. I've used the One Big Meaning stamp set to stamp the sentiment in
Chocolate Chip ink. I've then used the flowers and leaves from the Endless Thanks photopolymer stamp set underneath the sentiment in Mint Macaron and Chocolate Chip ink, to coordinate with the cardstock and paper used.

This card is exactly the same except for the colours I've used. It has a Basic Gray base and a layer of Old Olive DSP, which I've aged using Smokey Slate ink round the edges. I've used Basic Gray to stamp the sentiment and the flowers and leaves are stamped in Old Olive and Basic Gray ink.
I would love hear from you to find out what you think of my new website & also the cards featured in today's project. Happy crafting!
Subscribe to:
Posts (Atom)


Social Icons