
Showing posts with label Versa Mark. Show all posts
Showing posts with label Versa Mark. Show all posts

Just For You.... Handmade Card created with Sale-a-Bration Freebies by Stampin' Up!
Saturday, January 16, 2016

I wanted to take the opportunity today to say hello and welcome to all my new subscribers! Thank you so much for subscribing, it means a lot to me and I hope you enjoy looking at the projects I make.
Today's project has been made using a free stamp set that I have earned during Sale-a-Bration.
For every £45 you spend during Sale-a-Bration you can choose one item from the Sale-a-Bration catalogue for FREE. Click here to browse the Sale-a-Bration catalogue
You can do so much with this stamp set but I wanted to show you how lovely it can be with this simple design in silver and white. I'll be working on a stepped up version of this card so keep and eye out for this on my blog !
I stamped the sentiment Just For You in Versa mark Ink and used Silver Embossing Power and my Heat Tool to give this shiny silver effect. I punched out some flowers from Vellum cardstock using one of the Itty Bitty Accent punches and added Rhinestones to the centre.
Have a great weekend!


Just a short blog post from me today, I've had a really busy weekend visiting family and have clocked up 400 miles in less than 24 hours. Tiredness has just hit me so please enjoy the pictures and I'll be back on Wednesday with another project.

For today's project I made two gifts bags using some different patterns out of the Timeless Elegance DSP. I added a glittery banner using Glimmer Paper and the Banner Tripple punch. I then took some wooden sentiments (they are called Expressions Natural Elements) and used Versamark Ink, Embossing Powder and my heat gun to add a lovely shiny embossed colour to the embellishment. To finish it off I punched a hole through the top and then used some of the lovely Satin Ribbon and Linen Thread to secure the bag.


You may have noticed that I have been using a lot of black ink, cardstock and designer series paper in my projects lately. It's a modern look that I personally really like!
I love to coordinate black themes with a pop of colour. In this case, I have added the Melon Mambo cotton ribbon and cardstock.

The sentiment and edging have been stamped using Versamark Ink and Black Stampin' Emboss Powder.This has a shiny, raised effect which adds to this simple but modern birthday card.

I'd love to know what you think about this card so please leave a comment!


I hope everyone is having a lovely Valentines Day!
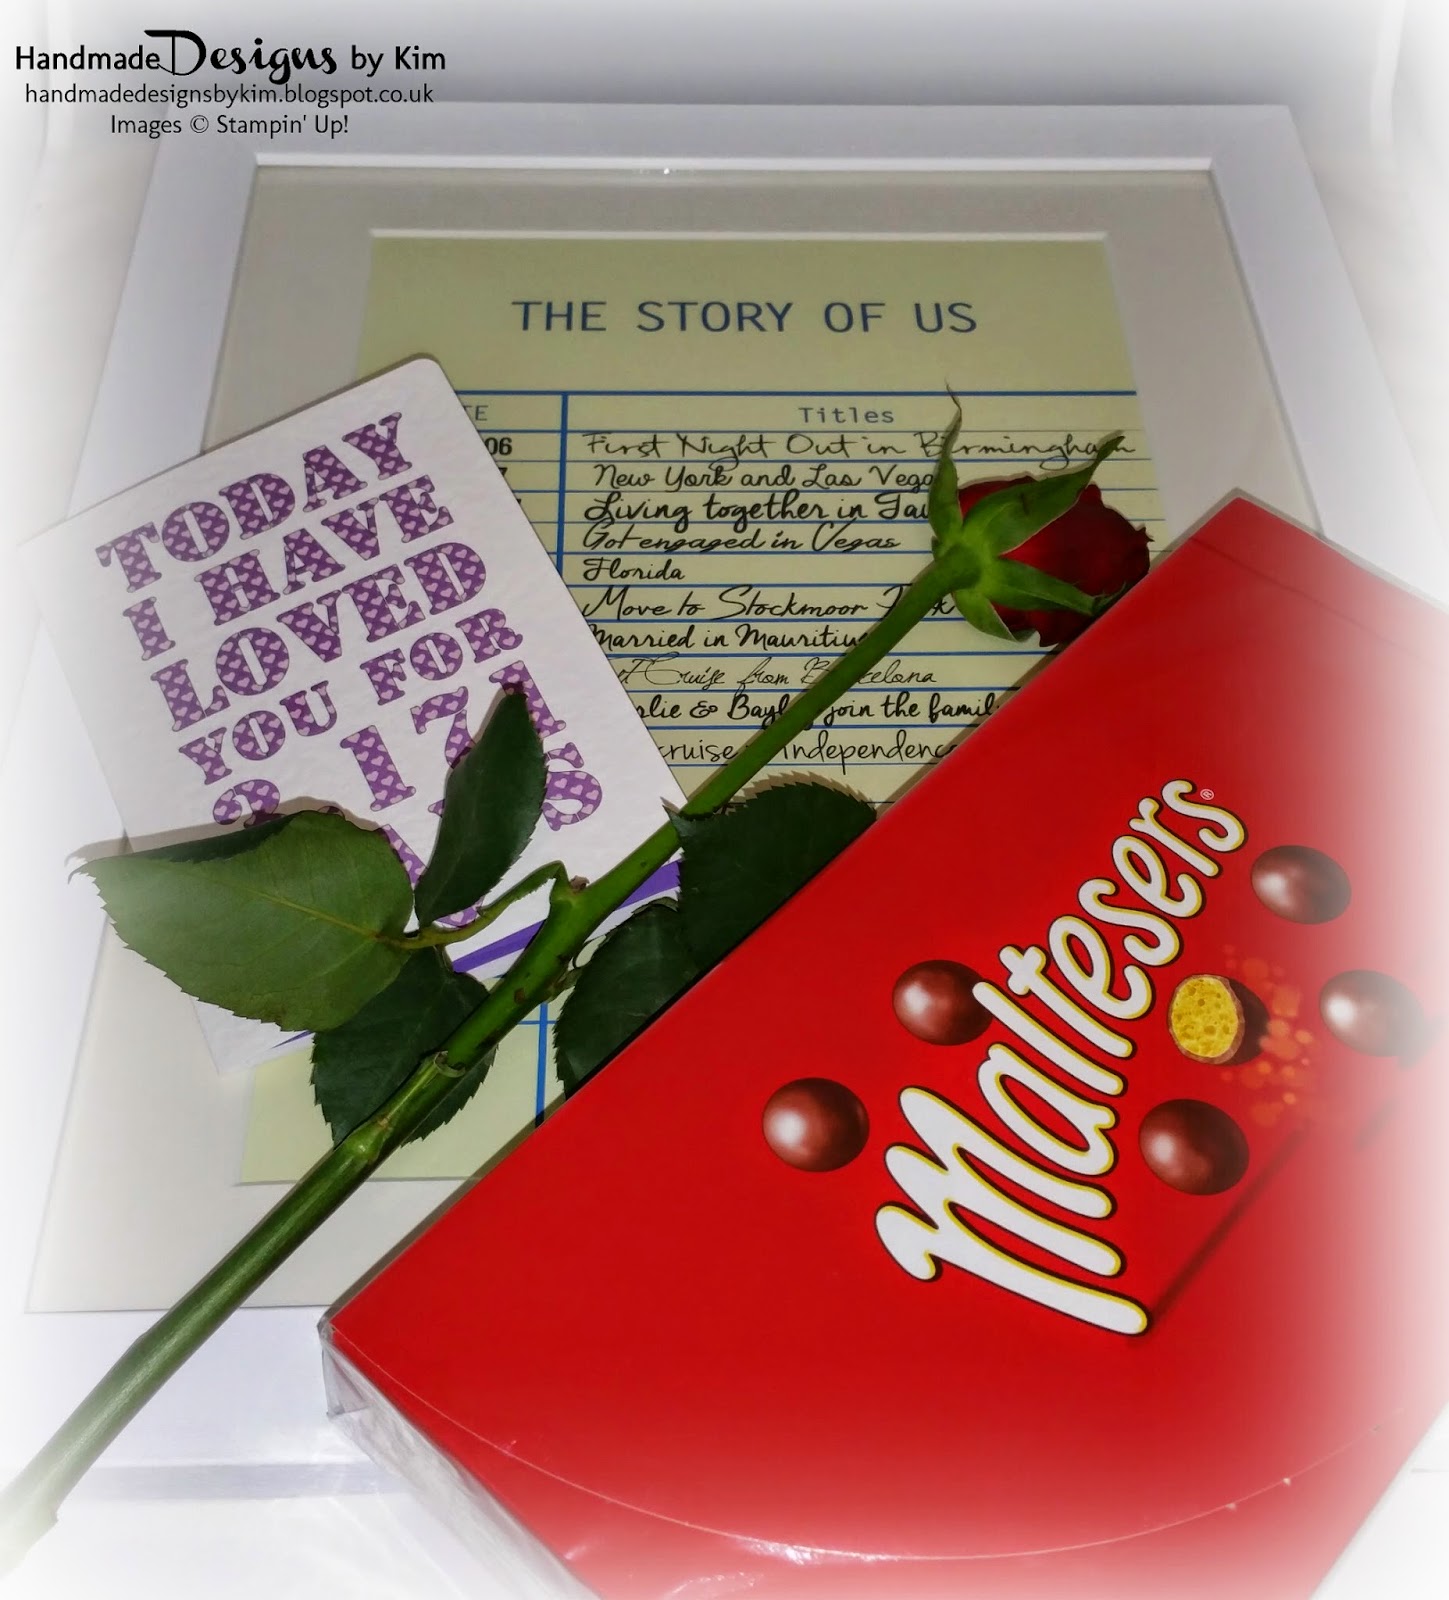
My husband surprised me with some lovely presents, I am very thankful to have such a thoughtful husband. I received a lovely personalised frame noting all of the key dates since we got together, a red rose and a box of Malteasers.
Here are the presents that I gave to my husband. A handmade Valentines card using techniques I have never used before and a handmade Valentines gift bag which contained a wooden star and also 2 heart cookies which I bought from Not on the High Street.

I used the Stacked With Love Designer Series Paper Stack to decorate the front of the card and used the Hello You Thinlits die to add 'Happy' to the front of the card along with 'Valentine's Day' which I stamped in Versamark Ink and covered Silver Stampin' Emboss Powder. I then set the Embossing powder my with my heat gun and punched it out with the Word Window Punch. You can find a similar stamp in the Teeny Tiny Sentiments stamp set.
 I got the idea for the inside of this card from watching my upline, Michelle Lasts Youtube video tutorials. It's difficult to see in the photo below that this card is actually 3D when opened. The photo to the right shows you that the base of the card has two layers. The card folds flat when the card is closed (it's so clever!) Click here to see Michelle's video tutorial on how to make this 3D card.
I cut out the heart using the heart die from the Mini Treat Bag Thinlits set and at the same time created the embossed border. The technique is really straight forward. Click here to watch Michelle's tutorial on how to make the embossed border.
I used the Real Red Brights Designer Series Paper which was left over from the Valentines Gift Bag in my previous post to line the first layer. This is so that you see the lovely paper where you have cut out the heart shape.

I hope you have enjoyed seeing my projects today. Have a great weekend! and if you want to order any of these products, please go to my online shop by clicking on the pictures below.


If you search for Color Throwdown in Pinterest, you will get lots of suggestions for colour combinations which usually consist of 3 - 4 colours. Why don't you try a combination today that you wouldn't normally go for?
I wanted to show you today how you can really mix up the colour combinations and layouts using this stamp set and I have 4 examples for you that could be packaged as a set of 4 as a gift.
I've used Blackberry Bliss, Melon Mambo and Smokey Slate for this card. I love this version and I just couldn't bring myself to add the glittery butterfly that I made as I think its perfect as it is.

This is a colour combination that I really like but haven't used very much - its Chocolate Chip, Blushing Bride & Pear Pizazz.

The next version is very similar to a design by Michelle Last and uses Black Memento Ink, Crumb Cake & Sahara Sand. Click here to see Michelle's stunning version.

The final card uses Night of Navy and Pool Party ink. I also used Crumb Cake and Island Indigo for the card base and layer.

To make the glittery butterflies I stamped the image onto Whisper White cardstock. I used my versamark stamp pad directly over the image to ensure the surface area covering the butterfly was sticky. I then coated this area with heat and stick powder and heated it with my Heat Tool. Once this had glazed over I then covered the area again with Dazzling Diamonds glitter. I used my heat gun again to set the glitter. To finish it off, I punched out the image using the Elegant Butterfly Punch and used Stampin’ Dimensionals® to pop the image up on the card.
I would love to see any designs you have come up with using this stamp set - please post a link to your pictures in the comments section.
If you would like to order any of the supplies used, please click on the pictures below!


Subscribe to:
Posts (Atom)


Social Icons