


A few weeks ago I discovered the purpose of Transfer Sheets. I don't know about you but I've never really given them a second glance when browsing the Stampin' Up! Annual Catalogue.
Now I understand what they are for and how to use them, I thought I would share it with you as they are a fabulous adhesive for intricate die cuts - a great time saver too instead of using individual glue dots or a liquid glue.
Here is a quick tutorial on how to use this adhesive in your projects!
I hope you have found this tutorial helpful!
Let me know if you have any question by either leaving a comment or contacting me through clicking on the social media icons at the top or bottom of this page.
To see my other favourite adhesives, click here to go to my Tools & Tips page


I wanted to find a style of card that my husband had never seen before to make as a surprise for his birthday. After searching Pinterest & Youtube, this is the result!
This style of this card is called a Slider card and I was surprised how easy it was to make!
I watched this Youtube video by US Stampin' Up! Demonstrator Dawn Griffth from Dawn's Stampin' Thoughts and followed it step by step.
For my design, I chose to use the Ivory Naturals cardstock with the Typeset Specialty Designer Series Paper. I stamped the image and sentiment in Black Staz On Ink.

The inside of the card is attached to the birthday cake so the cake moves upwards when you pull the ribbon!


Remember, you can earn this stamp set for FREE with any orders of £45 excluding P&P between now and 31st March 2015.


I hope everyone is having a lovely Valentines Day!
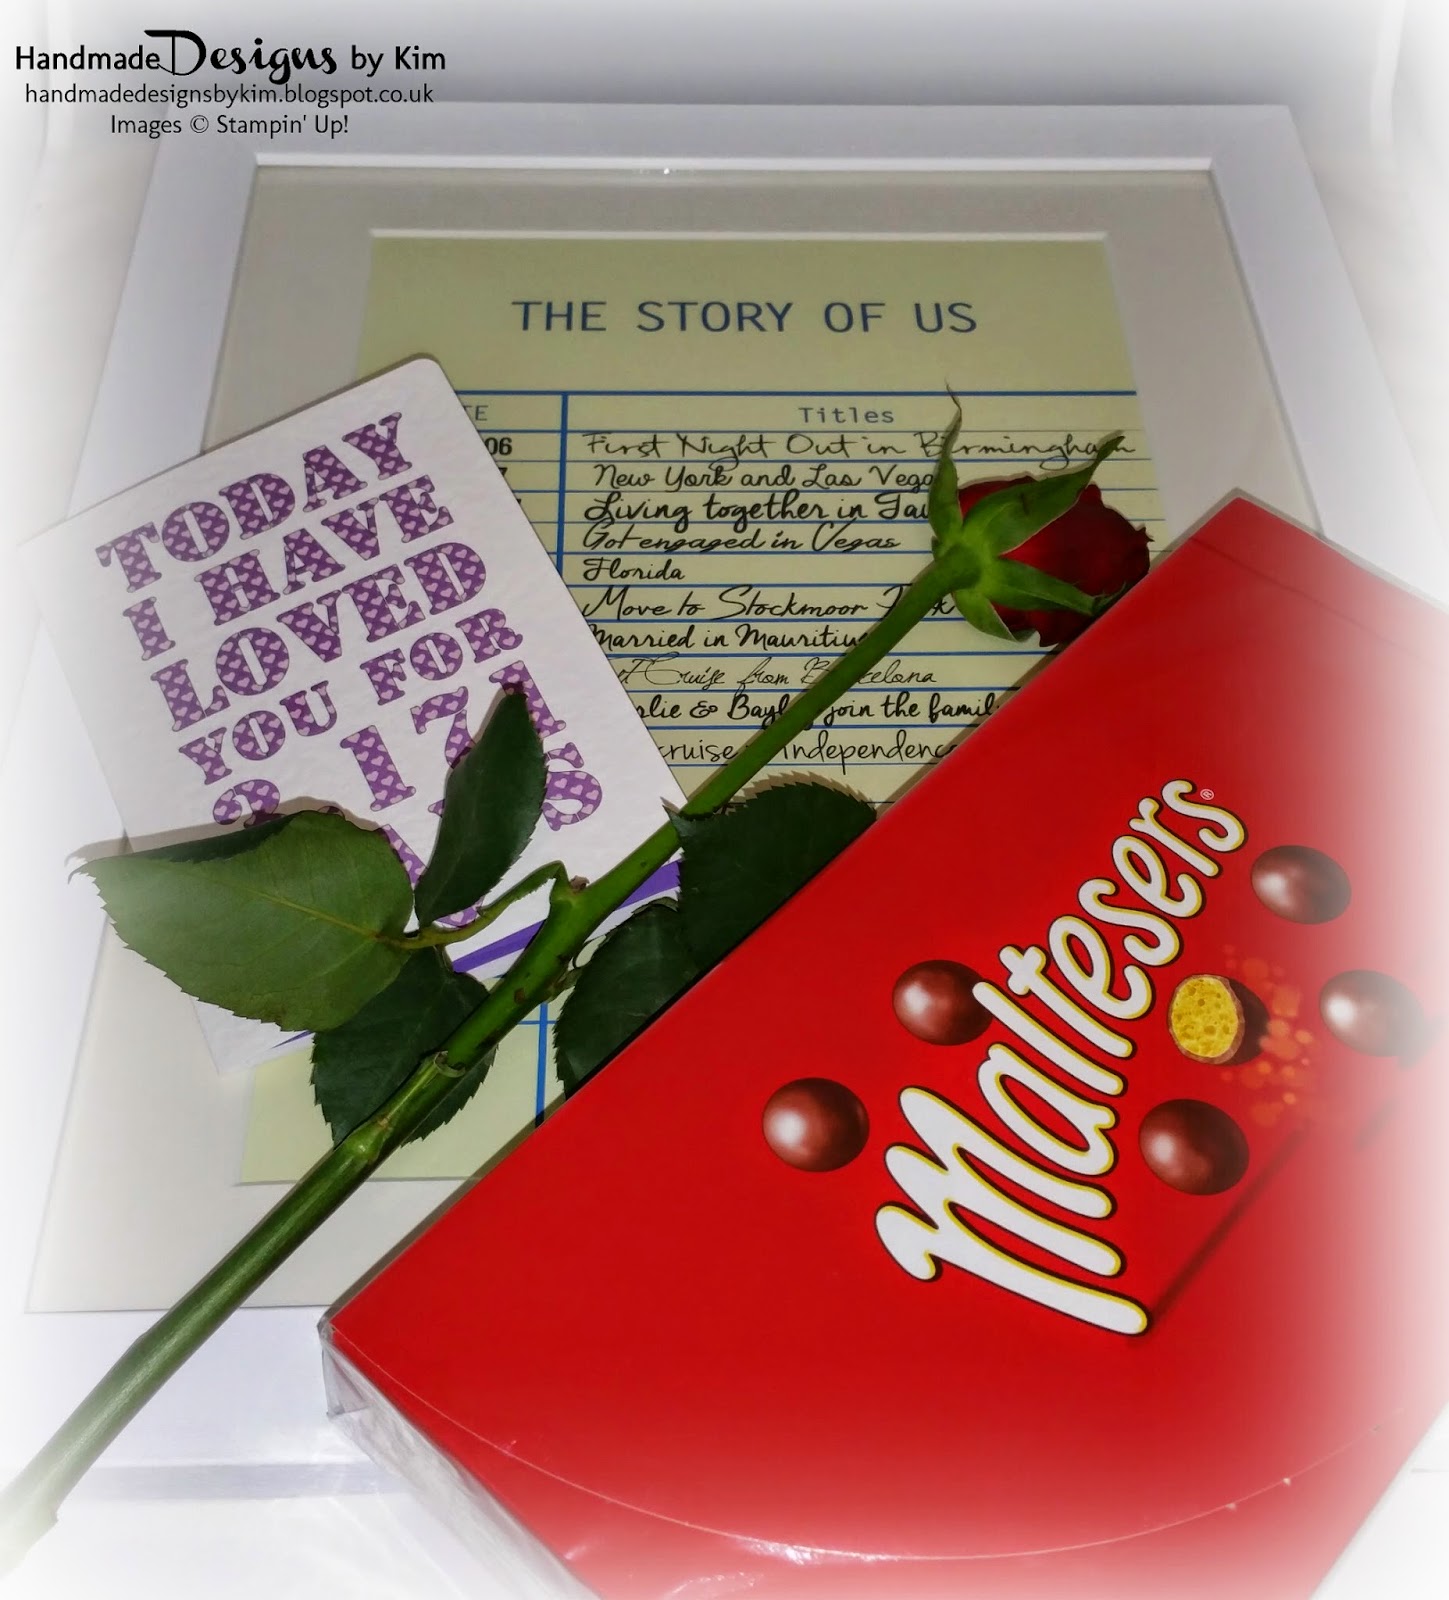
My husband surprised me with some lovely presents, I am very thankful to have such a thoughtful husband. I received a lovely personalised frame noting all of the key dates since we got together, a red rose and a box of Malteasers.
Here are the presents that I gave to my husband. A handmade Valentines card using techniques I have never used before and a handmade Valentines gift bag which contained a wooden star and also 2 heart cookies which I bought from Not on the High Street.

I used the Stacked With Love Designer Series Paper Stack to decorate the front of the card and used the Hello You Thinlits die to add 'Happy' to the front of the card along with 'Valentine's Day' which I stamped in Versamark Ink and covered Silver Stampin' Emboss Powder. I then set the Embossing powder my with my heat gun and punched it out with the Word Window Punch. You can find a similar stamp in the Teeny Tiny Sentiments stamp set.
 I got the idea for the inside of this card from watching my upline, Michelle Lasts Youtube video tutorials. It's difficult to see in the photo below that this card is actually 3D when opened. The photo to the right shows you that the base of the card has two layers. The card folds flat when the card is closed (it's so clever!) Click here to see Michelle's video tutorial on how to make this 3D card.
I cut out the heart using the heart die from the Mini Treat Bag Thinlits set and at the same time created the embossed border. The technique is really straight forward. Click here to watch Michelle's tutorial on how to make the embossed border.
I used the Real Red Brights Designer Series Paper which was left over from the Valentines Gift Bag in my previous post to line the first layer. This is so that you see the lovely paper where you have cut out the heart shape.

I hope you have enjoyed seeing my projects today. Have a great weekend! and if you want to order any of these products, please go to my online shop by clicking on the pictures below.

I am sharing with you today the Valentines Gift Bag and present I have bought for my husband for Valentines Day (here's hoping he doesn't check out my blog for the next few days).

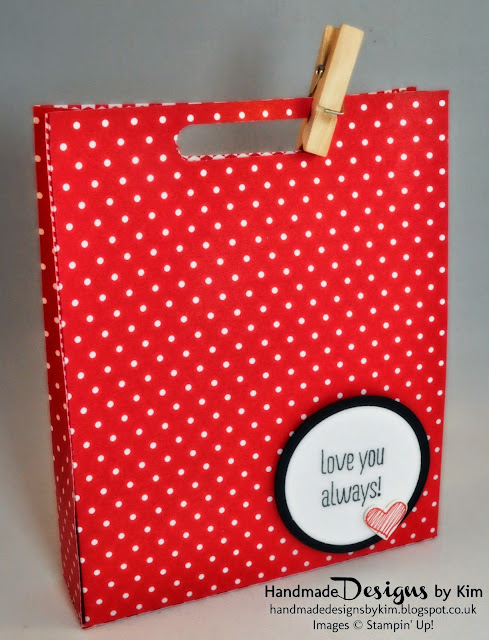
I bought this cute little wooden star that says "I love you more than all the stars" from Sainsburys and needed to make a skinny gift bag to fit the star (any excuse to do some crafting!)


You can make this Gift Bag in less then 10 minutes by following these steps:
- Cut a piece of patterned paper measuring 12" by 6 1/2". I've used the polka dot pattern from the Brights Designer Series Paper Stack in Real Red
- On the long side, score at 4 1/2", 5 1/2", 10" and 11"
- Turn the paper once and score on the short side at 5 1/2 "
- Fold and burnish all scores lines
- Cut up to the 5 1/2" score line on the long side on all 4 score lines (4 1/2", 5 1/2", 10" and 11")
- Place your paper back in its orignal position and remove the far right hand bottom square (measuring 1" by 1")
- Using a good adhesive such as Sticky Strip or Fast Fuse, adhere the far right hand panel (measuring 5 1/2" by 1") to far left panel to form the gift bag sides
- Fold the flaps in at the bottom and use a good adhesive to keep these in place.
- Using any punch that suits your design, punch out a handle. I have used the Word Window Punch and have secured the top with a Clothespin.
- Stamp a sentiment onto Whisper White cardstock and punch this out using a punch of your choice. I have used the sentiment "I Love You Always" from the Something to Say stamp set and the 1 3/4" Circle Punch. I also punched out a 2" Circle in Basic Black to layer my sentiment.
- Finally, I stamped a small heart from the Something to Say stamp set in Real Red and punched it out using the Heart Punch from the Itty Bitty Accents Punches and adhered this to my sentiment.


It was my Sister-in-Laws 50th Birthday recently so I made her this lovely card in a box. The card in a box is the one card design I've probably made the most. I think they are unique and really fun to make!

The box folds flat and fits into a C6 envelope for easy posting. Just make sure you don't forget to put a large letter stamp on these when posting!

I used the Flower Shop Stamp set with the coordinating Pansy Punch and the Petite Petals Stamp Set with coordinating Petite Petals Punch. I also added some butterflies using the Bitty Butterfly Punch.
I made my own background paper by using the Hopeful Thoughts stamp set by stamping the leafy image in Versamark Ink onto Whisper White cardstock. I then sprinkled Silver Stampin' Embossing Powder all over the stamped image. I then used the Heat Tool to set the embossing powder to give it a raised, shiny finish.

Finally, I added the Happy Birthday sentiment and some Rhinestones and then wrapped her birthday presents in coordinating wrapping paper and Lost Lagoon Stitched Satin Ribbon.

Subscribe to:
Comments (Atom)


Social Icons